2014 Tundra CrewMax Leather Seat Installation Guide
Imagine sliding into your truck and feeling the supple embrace of genuine leather instead of worn, stained cloth. Picture your friends' reactions when they see your transformed interior – the kind that makes them stop mid-sentence and ask, "Is this the same truck?"
Why Your 2014 Tundra CrewMax Deserves Better Than Factory Cloth
If you're reading this, you've likely experienced the frustration every 2014 Toyota Tundra CrewMax owner knows too well. Those factory cloth seats that seemed decent when new have become a daily reminder of compromise. Coffee stains that won't budge. Fabric that holds odors despite your best cleaning efforts. Wear patterns that scream "work truck" instead of the premium vehicle your Tundra truly is.
If you own a 2014 Toyota Tundra CrewMax, you already know your CrewMax isn't just any truck. It’s a truck built for big jobs, long hauls, and plenty of passenger space.With its extended cabin and larger rear doors, it's Toyota's flagship full-size pickup – designed for those who refuse to compromise on space, capability, or comfort. Yet Toyota equipped most 2014 models with cloth interiors that simply don't match the truck's premium positioning.
The good news? You don't need to live with this mismatch forever, and you certainly don't need to spend $40,000+ on a new truck to get the luxury interior you deserve.
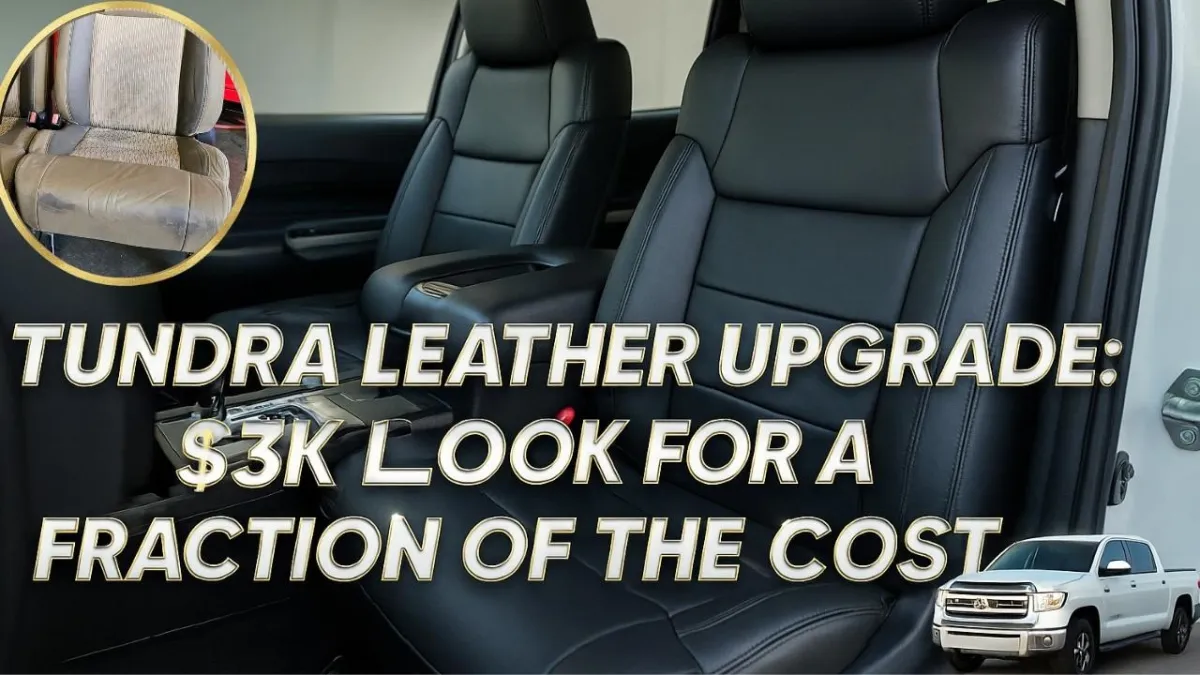
The $3,000 Upgrade That Adds more than 60% in Value
Professional automotive appraisers consistently report that leather interior upgrades add more than 60% more value than their installation cost. But the real transformation isn't financial – it's personal. When industry veterans with 40+ years of experience watch customers' reactions to completed installations, they consistently hear phrases like:
"It doesn't even look like the same truck"
"It smells like a new vehicle"
"I can't believe this is my Tundra"
Unlike standard cab Tundras, your CrewMax offers 6+ inches of additional rear passenger space and larger door openings, making leather installation more accessible and the finished result more impactful for passengers.
What Makes This Different From Generic Leather Guides
Most leather installation guides treat all vehicles the same. This is a costly mistake that leads to poor fitment, compromised safety systems, and results that scream "amateur job."
Your 2014 Tundra CrewMax has specific characteristics that demand specialized knowledge:
Unique bolt patterns: The rear seats use eight 17mm bolts, but one has different threading that can strip if handled incorrectly
Airbag integration: Your seats contain sophisticated safety systems requiring precise reinstallation
Heated seat elements: These must be carefully transferred to maintain functionality
CrewMax-specific dimensions: Door panel inserts and trim pieces differ from standard cab models
Master these specifics, and you'll achieve results indistinguishable from factory leather options that Toyota never offered for your model year.
Plan your Transformation
Essential Tools
Critical tools (non-negotiable):
14mm socket set with ratchet
T45 Torx driver
Phillips head screwdrivers (#2)
Automotive clip removal tool
Sharp scissors (leather-specific preferred)
Small flat-head screwdriver
Professional-grade additions:
Handheld steamer (available at Walmart, $30-50)
Shop vacuum with hose attachment
Rubber bands and electrical tape
Needle-nose pliers
Pro tip from 40+ years of experience: Dull pocket knives work better than sharp ones for creating installation holes. You want to puncture, not slice, the leather for proper hog ring attachment.
Choosing Your Leather Kit
Not all leather kits are created equal. Here's what separates premium options from budget disappointments:
Premium indicators:
Breathable leather backing (not fabric)
Pre-installed airbag reinforcement clips
Color-matched piping and contrast stitching options
Vehicle-specific patterns (not universal fit)
Red flags:
Fabric backing on leather pieces
Generic "one-size-fits-all" marketing
Unusually low prices (under $800)
No mention of airbag compatibility
Exclusive Options: Companies like EM Upholstery Technology (LeatherSeats.com) offer CrewMax-specific kits with door panel inserts and dashboard pieces unavailable elsewhere. These exclusive components transform not just your seats, but your entire interior aesthetic.
Investment Analysis: DIY vs Professional Installation
DIY Route:
Kit cost: $1,200-1,800
Tools (if needed): $150-300
Time investment: 10-12 hours
Total: $1,350-2,100
Professional Installation:
Same kit cost: $1,200-1,800
Labor: $800-1,200
Total: $2,000-3,000
The hidden value: Professional installers in San Bernardino and similar markets often complete installations in 6-8 hours with results that improve over time as leather naturally conforms and shrinks.
Seat Removal Mastery
Front Seat Removal
Step 1: Preparation (Critical for safety)
Deflate lumbar support completely to prevent damage
Move seat to full forward position
Remove headrests by pressing side clips while pulling upward
Step 2: Electrical Disconnection
Locate two 14mm bolts at front of seat tracks
Move seat fully backward to access rear bolts
Critical detail: Rear bolts are covered by plastic clips that must be pried from the center, then pushed backward
Step 3: The Professional Touch Most guides skip this: the passenger seat has heating element cables and seat sensor connections that must be disconnected in specific sequence. Green connector goes below white connector – reverse this and you'll trigger airbag warning lights.
CrewMax Rear Seat Removal
Why CrewMax makes this easier: Those larger rear doors provide unprecedented access to bolt locations. Standard cab owners struggle with tight spaces – you won't.
The process:
Four 17mm bolts per side (eight total)
Critical warning: The driver-side rear bolt has unique threading. Mark this bolt's location to prevent cross-threading during reinstallation
Time-saving tip: Remove rear seats first. Their larger size makes them more awkward to maneuver, and removing them provides workspace for front seat cover installation.
Cover Removal Without Destroying Heated Elements
Heated seat elements cost $150-250 to replace and require dealer programming. Damage them during cover removal, and your "budget" upgrade becomes expensive.
Professional technique:
Use scissors, never blades, for cover removal
Cut parallel to heating wires, never perpendicular
Remove covers in large sections to keep heating elements intact
Pro secret: Steam covers lightly before removal to soften adhesive
Pattern Recognition:
Before discarding old covers, photograph their position on each seat component. These serve as templates for:
Hog ring hole locations
Velcro strip positioning
Trim line alignment
Hardware mounting points
Lay new covers on old ones immediately after removal. This prevents confusion between left/right and front/rear pieces during installation.
Installation Techniques That Ensure Professional Results
Center Alignment
The professional standard: Every cover must be centered precisely before securing. Look for:
Equal seam allowances on both sides
Centered manufacturer notches (if present)
Symmetrical stretch patterns
The hog ring secret: Create 1/2-inch incisions rather than puncture holes. This allows micro-adjustments during installation – the difference between amateur and professional appearance.
Airbag Integration
Your 2014 CrewMax seats contain sophisticated airbag systems requiring precise reinstallation. Never skip these steps:
Locate reinforcement clips: Premium leather kits include pre-installed clips that guide airbag deployment
Position correctly: Clips must align with foam channels exactly
Secure with hog rings: Two rings per clip prevent displacement during airbag deployment
Safety verification: After installation, ensure airbag warning lights don't illuminate. If they do, you've likely disturbed a connection that requires professional diagnosis.
Steam Treatment
Why steaming matters:
Removes installation wrinkles
Activates leather's natural shrinking properties
Creates the "factory-installed" appearance
Technique: Light, even passes with handheld steamer. Over-steaming causes permanent texture changes, while under-steaming leaves installation marks visible.
Advanced Components – Door Panels and Dashboard
The Transformation Beyond Seats
Premium installations extend beyond seating surfaces. Exclusive components available from specialists like EM Upholstery Technology include:
Door panel inserts:
Remove factory plastic inserts by cutting weld points
Replace with leather-wrapped alternatives
Result: Coordinated interior aesthetic impossible to achieve with seats alone
Dashboard trim pieces:
Vinyl wrapping for climate control surrounds
Custom color matching to seat leather
Professional-grade adhesion that withstands temperature extremes
Center console upgrades:
Even base-model CrewMax consoles can be wrapped
Transform plastic surfaces to leather-look vinyl
Maintains functionality while elevating appearance
Headrest Installation
The challenge: 2014 Tundra headrests are sealed units – covers can't be removed traditionally.
Professional solution:
Vacuum compression: Connect shop vacuum to headrest opening
Seal with rubber band and tape: Create airtight connection
Compress and cover: Headrest shrinks to 1/3 original size
Remove vacuum: Headrest returns to shape inside new cover
Results: Perfect fit impossible to achieve through traditional stretching methods.
Quality Control and Long-term Success
Set proper expectations: New leather installations appear slightly loose initially. This is normal and desirable. Over 2-3 months:
Leather naturally shrinks 5-10%
Minor wrinkles disappear completely
Fit becomes tighter than factory leather
Professional insight: Installations that look "perfect" immediately often become too tight as leather ages.
Maintenance for Longevity
Month 1-3 (Break-in period):
Light conditioning every 2 weeks
Avoid harsh cleaners
Allow natural settling
Ongoing maintenance:
Condition quarterly
Clean spills immediately with leather-specific products
UV protection: Window tinting or seat covers for extended sun exposure
Troubleshooting Common Issues
When Good Installations Go Wrong
Wrinkled appearance after installation:
Cause: Insufficient steaming or rushed installation
Solution: Re-steam affected areas, allow 48-hour settling period
Electrical warning lights:
Cause: Disturbed sensor connections
Solution: Check all electrical connections, ensure proper seating
Uneven wear patterns:
Cause: Improper tension or alignment
Solution: Early detection allows adjustment; wait 30 days before major corrections
The Investment That Transforms Your Daily Drive
Your 2014 Toyota Tundra CrewMax represents more than transportation – it's your mobile office, weekend adventure vehicle, and daily companion. Factory cloth seats diminish this experience daily, while premium leather transforms every moment behind the wheel.
The numbers speak clearly:
Installation cost: $1,200-1,800 DIY, $2,000-3,000 professionally installed
Value addition: $2,500-3,500 in resale value
Lifespan: 10+ years with proper maintenance
Daily satisfaction: Immeasurable
Your Next Steps to Leather Luxury
The difference between continuing to accept compromised comfort and enjoying luxury-grade seating is simply a decision followed by action.
The question isn't whether leather seats are worth the investment – customer reactions and resale values prove that definitively. The question is whether you're ready to stop accepting less than your Tundra deserves.
Your truck is waiting for the transformation that will make every drive a reminder of the quality decision you made. The only thing standing between you and leather luxury is action.
Visit LeatherTeck.com by EM Upholstery Technology to explore:
Factory-match kits for quick refreshes
Full custom designs with exotic materials
Integrated heated and cooled seating solutions
Turn your CrewMax into the best seat in the house—every mile of the way.
